
Gimp is an open source photo manipulation program that runs on all major operating systems. It offers all the features you might expect from a raster graphics editor such as free-form drawing, cropping/resizing, gradient and layer support ...etc
In this tutorial i'll show you how to add a stroke to images/text using two methods: Selections and Borders.
Method 1: Selections
#1 Press Ctrl+N to create a new document, then choose whatever size you want:

#2 Now, create a new layer Shift+Ctrl+N :

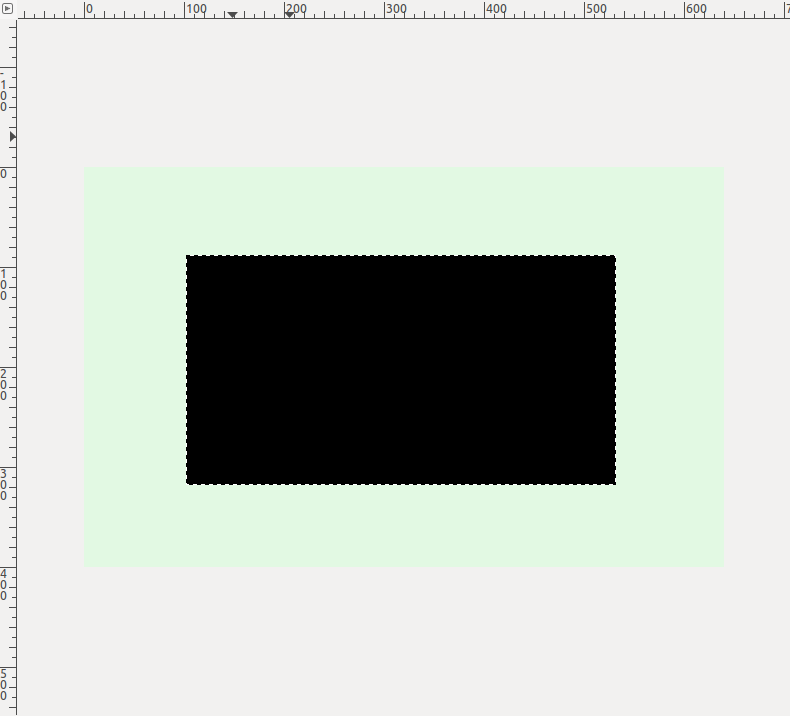
 #3 We're going to use selections to add a stroke to a shape, so click on the Rectangle Select Tool and make a rectangular selection:
#4 This selection will serves as a stroke container. For example, if you want to add a black stroke, you need to fill this selection with a black color like this:
#5 Create a new layer Shift+Ctrl+N, the layer-tree hierarchy should look something like this:

#6 Right click on the selection ==> Select ==> Shrink:

Now, a dialog box will appear asking you to enter the size of the stroke in pixels:

#7 Enter a number of your choice and fill the selection with a different color. The final result (assuming you've followed all the steps above) will look something like this:

NOTE: Before applying the instructions mentioned in step #7, make sure the active layer is the new layer you've created in step #5.
To add a stroke to text, follow the steps below:
First, create a text layer and enter some text:

Now, select this text with the mouse and right click on it then click Path From Text:

Switch to the Rectangle Select Tool and right click on the text ==> Select ==> From Path:

Repeat the the aforementioned steps (starting from step #5). You should obtain a result like this:

Alternatively, you can use the Stroke Selection option from the Edit menu to add a border to any selection:
After you've created a rectangular selection and filled it with a color, go to the edit menu and choose Stroke Selection.
A dialog box will appear prompting you to edit the stroke options:

Edit the options and click on "Stroke" to add the stroke to your selection:

Method 2: Borders
This method lets you replace a selection with its matching border. To use it, right click on your selection ==> Edit ==> Border:

Enter the size of the border and click "Ok". Now, create a new layer
Shift+Ctrl+N and fill the resulting selection with a color of your choice: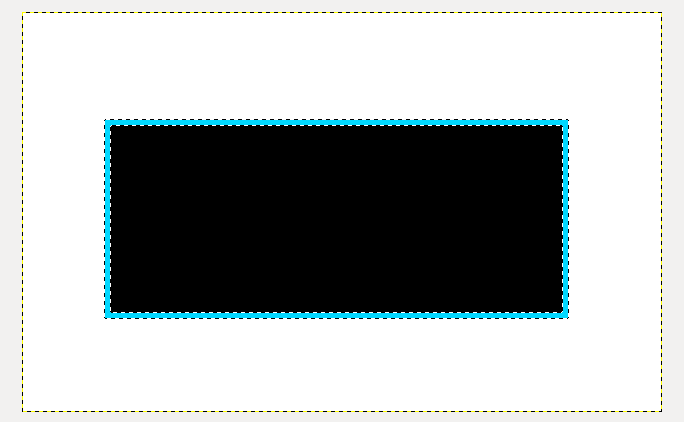


Comments